Glasshouse Botanicals
A project made with Collage Quilter Fabric Bundles
About the Project
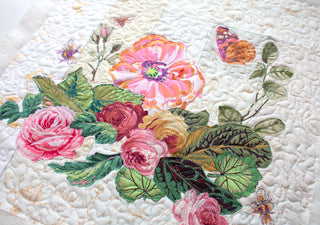
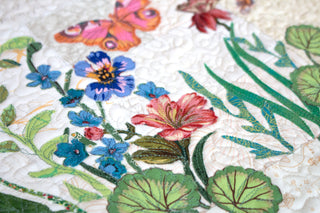
Glasshouse Botanicals was inspired by those darling little terrariums, the kind that house miniature gardens. As we were brainstorming about what sort of pattern we could release in January, we wanted to make something that could scare away the winter blues (even as I'm writing this, it's cold, gray, and snowy outside my window) and what better way to do that than with the most cheerful, bright, and happy "textile terrarium?"
We hope you enjoy this simple and extremely fun little project!
Instructions
Required Supplies
• Iron (mini wand iron is preferred)
Step One: Make the Blocks
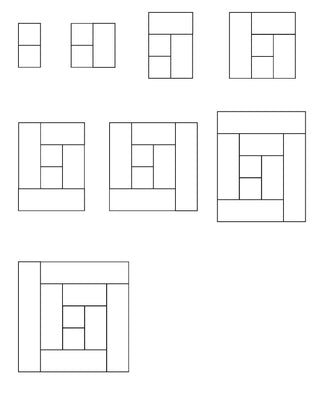
Using one of my fabric bundles (I used the white bundle), cut fabric for blocks. Each block requires 7-9 different fabrics. One block requires:
-Two 3” squares
-Two 5 1/2” x 3” rectangles
-Two 8” x 3” rectangles
-Two 10 1/2” x 3” rectangles
-One 13” x 3” rectangle
•Using 1/4” seam, piece together the block as shown in the illustration. Make as many blocks as you’d like for your quilt.
Each fabric bundle includes 18 pieces of fabric (⅛ yard cuts), so you can make about 10 blocks with one bundle!
Step Two: Prepare Fussy Cutting Elements
•Select a nice variety of fussy-cutting elements for each block that you intend to make. Look for good leaves, flowers, and insects to make your composition. Incorporate as many pieces as possible-- the more fussy-cutting elements, the more beautiful your composition will be. One bundle of my curated fussy-cutting fabric includes 9 fat quarters, and lots of interesting bits to use in this project!
•Trim selected fabric to the area around each element that you’ll be using. (Don’t worry about being detailed in cutting at this point, you’ll do the detail cutting after the fusible has been applied to your fabric).
•Prepare selected fabric with Lite Steam a Seam 2 (SAS): Remove one side of paper on the SAS to expose the sticky surface. Lay fabric pieces on SAS, wrong side of fabric facing SAS, and cut around fabric. Lightly press with hot, dry iron to ensure the fusible is stuck to the fabric. Leave the paper on the back of the fabric.
Step Three: Cut & Create
•Using good fabric scissors, cut each element out of the fabric you want to use-- be as precise as possible. I recommend using Karen K. Buckley 6” Perfect Scissors for this step.
•Apply fussy-cut fabric elements to each pieced block by peeling the paper away from the back of the fabric, exposing the SAS.
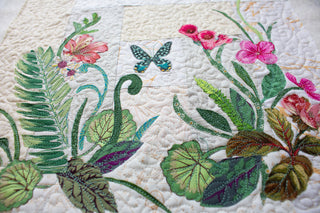
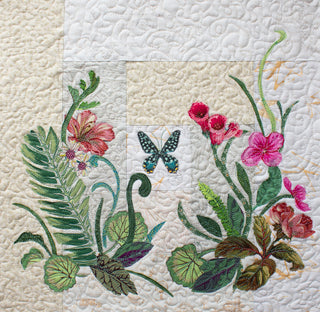
•Create a pleasing composition with flowers, insects, leaves and grass.
•When you are satisfied with the composition, press the entire piece with a hot, steamy iron.
Step Four: Make a Quilt
•I decided to use a “Quilt-As-You-Go” method. This involves quilting each block independently on my BERNINA Q16 sitdown longarm machine (you can see a detailed video about using this method at the BERNINA “We All Sew” blog, available soon).
•After each block is quilted, I piece them together by lining up the backing fabric and leaving the seam on the front of the quilt. The excess batting is trimmed to reduce bulk in the seam so that it will lay flat.
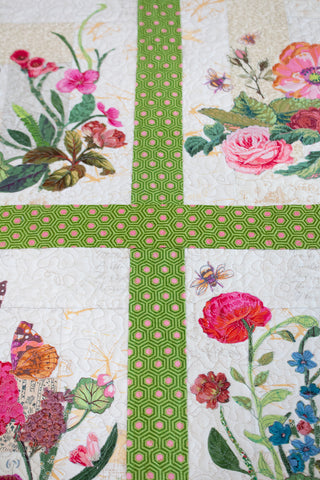
•The sashing on the top of the quilt, which hides the seams, is 3” wide, by the width of the quilt. Fold it to measure 1 ¾” with the raw edges folded into the center.
•Lay the sashing along each seam and stitch to secure. I also quilted the sashing to match the quilting on the rest of the quilt.
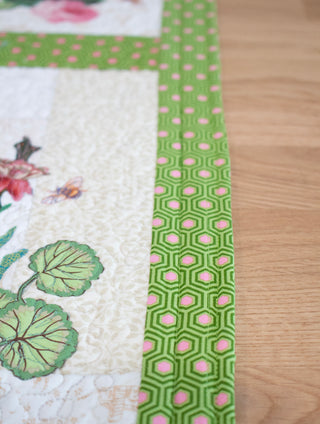
Step Five: Finish the Quilt
•I put a matching border on this quilt, and decided to finish it with facing, rather than traditional binding.
•To apply facing on a quilt, cut the following:
- Four strips of fabric that are 4” x by the width of the quilt
- Four 5” squares
•Fold and press the strips in half lengthwise. Fold and press the squares to create triangles.
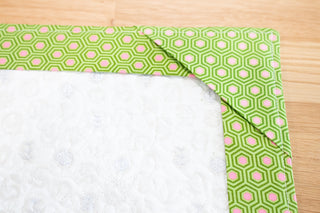
•Lay the triangles on the top of the quilt in the corners (right side of the quilt), lining the raw edges of each triangle up with the raw edges of the quilt. Then lay each strip of fabric along the edge of the quilt with raw edges lined up. The strips should overlap the triangles. Trim each strip to about 2” from the corners of the quilt, so that the strips still cover the triangle, but don’t overlap each other.
•Using a ¼” seam, stitch all around the edge of the quilt to secure the facing.
•Trim the corners to reduce bulk and turn the facing to the back side of the quilt.
•Secure the facing with strips of SAS, but leave the corners open for hanging.
•Place a dowel or yardstick in the pockets of the facing to hang!
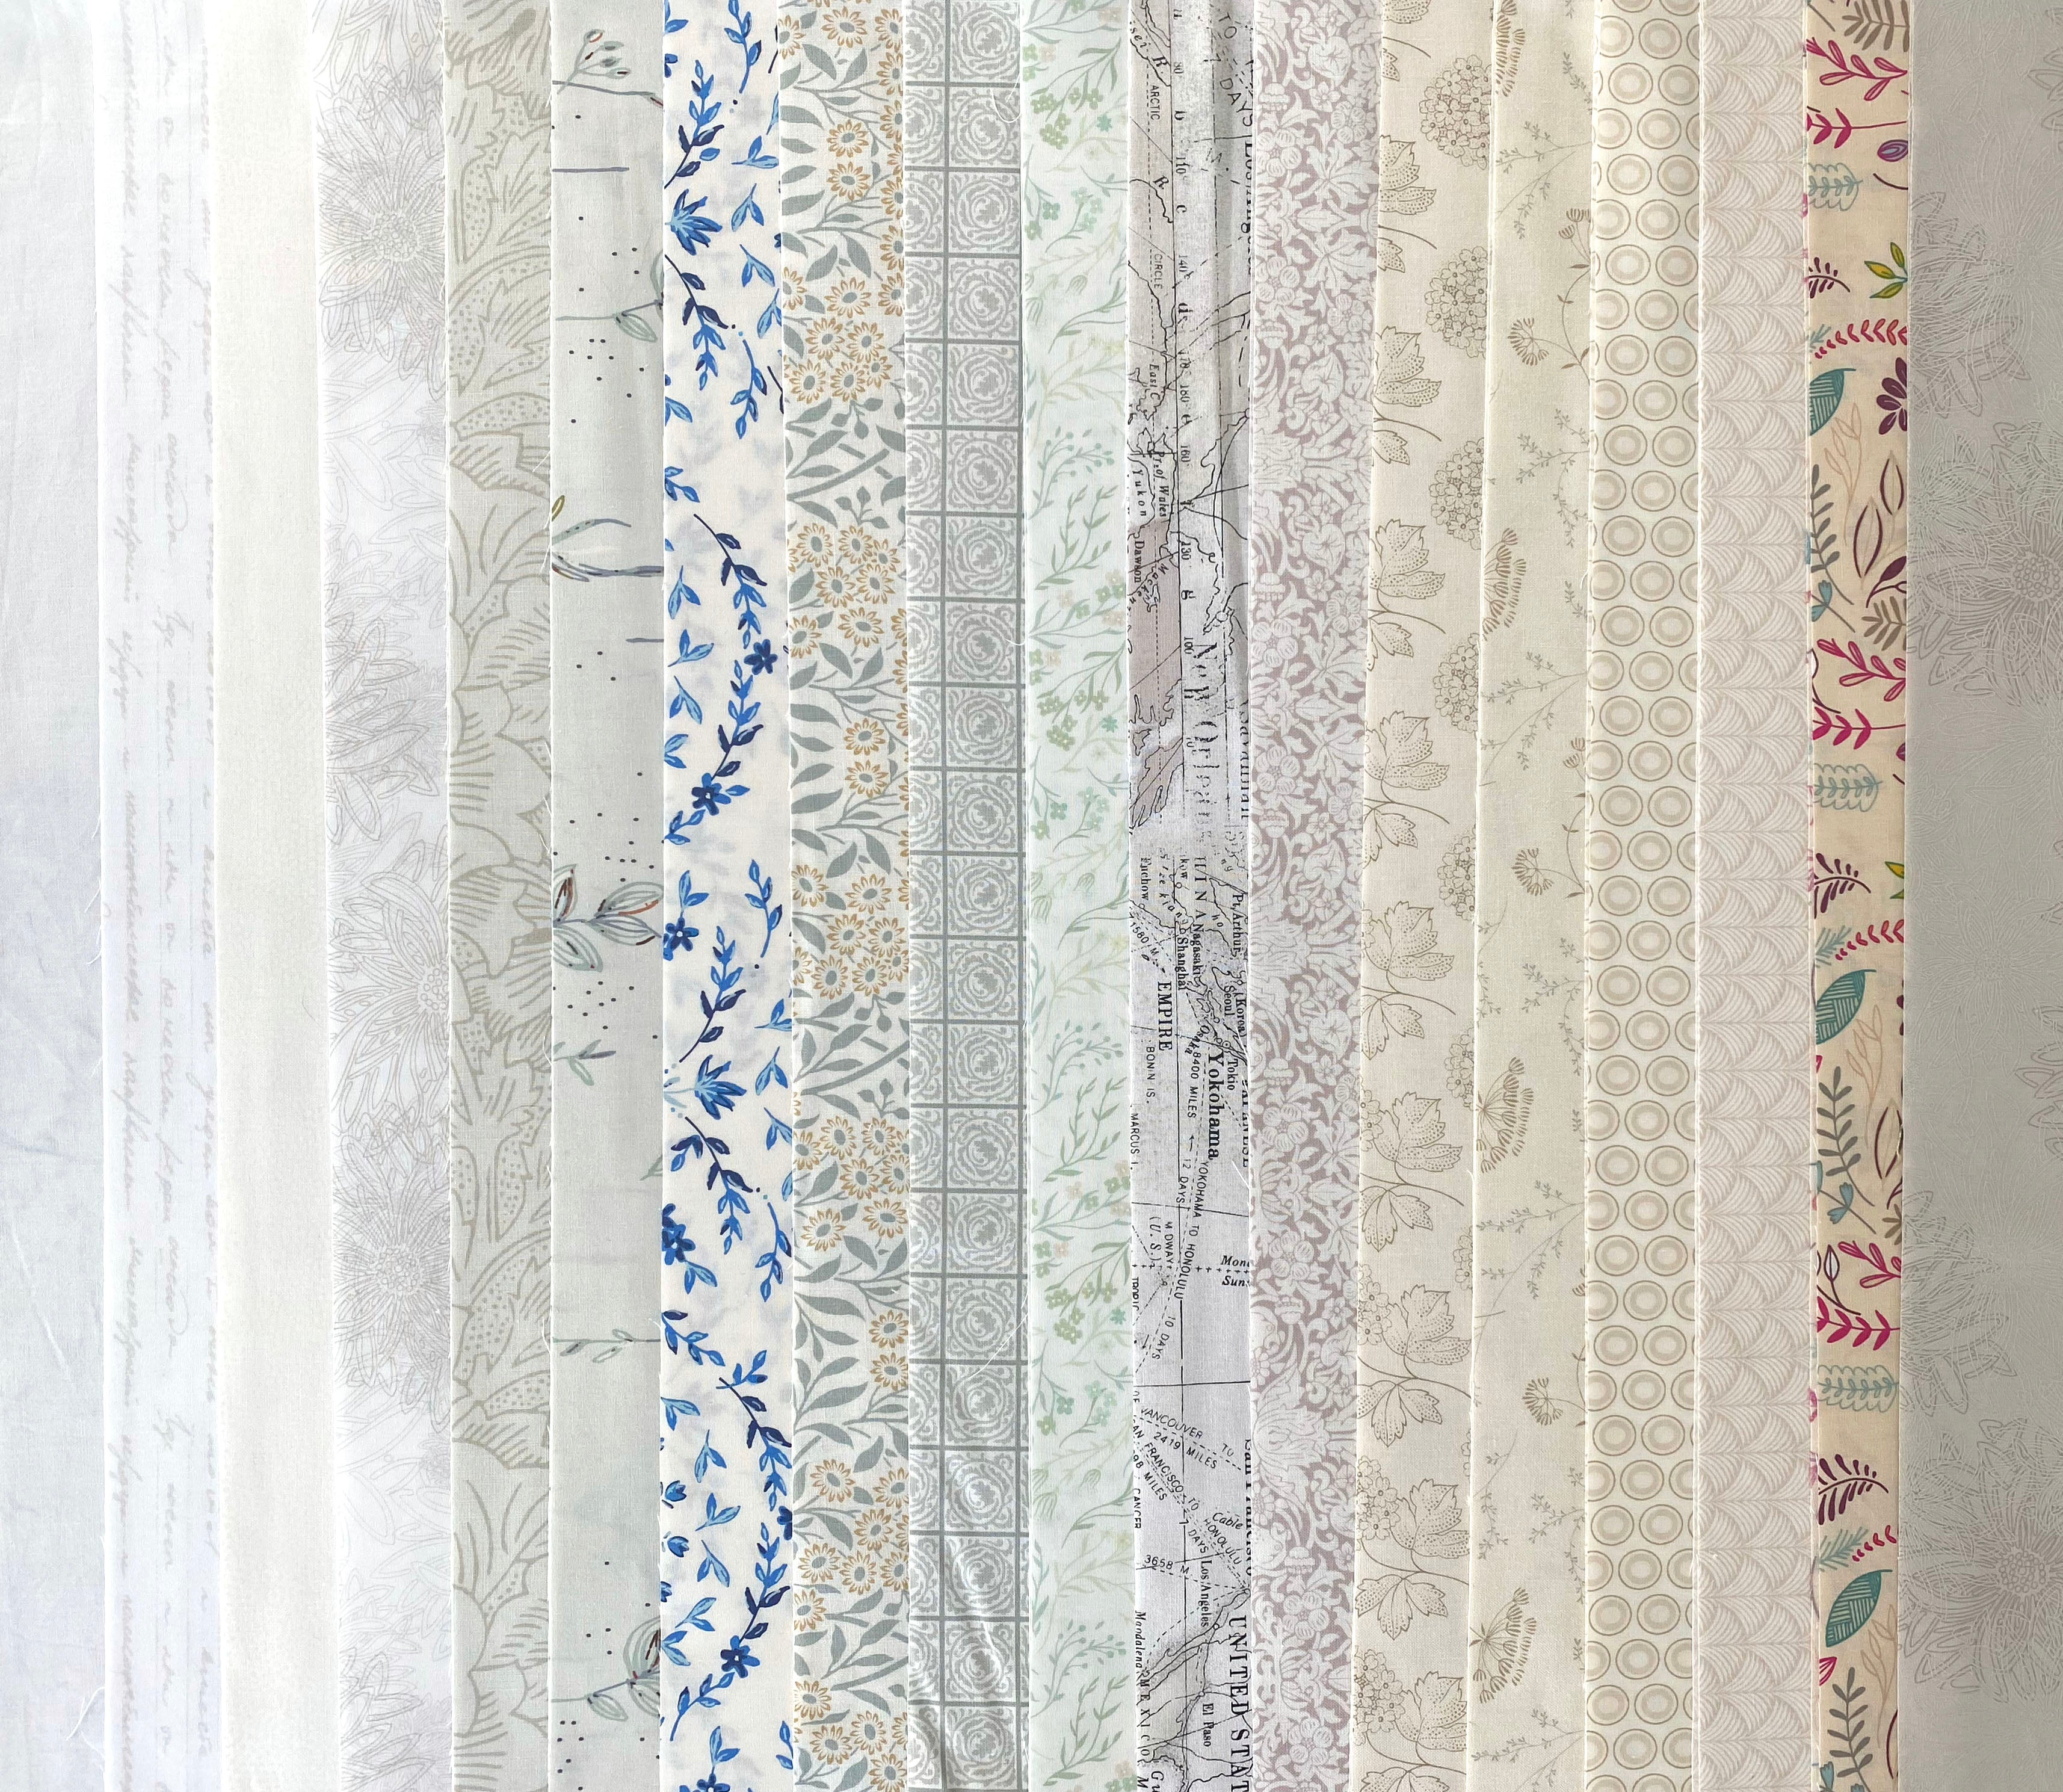
Products Used to Make the Glasshouse Botanicals
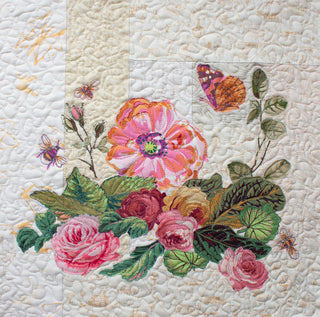
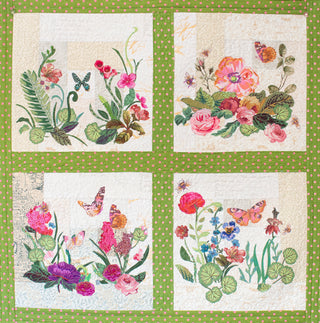
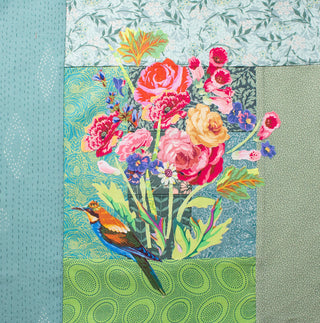
These simple blocks come together quickly and are so fun to make!
They were made using our FREE block pattern, along with our fussy cutting bundle and one of our curated color fabric bundles, our white bundle is what is pictured above.


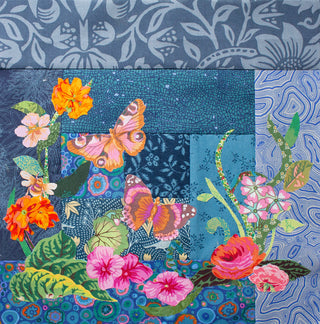
Get Creative!
The Glasshouse Botanicals can be made using ANY of our curated color fabric bundles. Take a look at these versions!
Quilting
Head over to the BERNINA blog to learn how to quilt the Glasshouse Botanicals as a quilt-as-you-go