
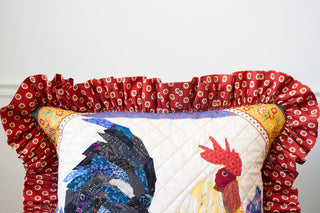
I love making my textile collage projects into pillow covers- they are fast, simple and look fantastic! Here is how it's done for a 22" pillow insert. (Adjust the sizes in this example according to your pillow insert).
1) Finish the collage project and cut it to the size of your pillow insert (22") or even a bit smaller (you want the pillow cover to fit tightly). This will be the front of your pillow.

2) Select the fabric for the back of the pillow, and cut two pieces 22" x 14"

3) Fold, press and stitch one of the 22" edges on each of the back pieces, using a 1/2" seam.
4) Match the two back piece up with the finished edges overlapping each other approximately 5". Pin them together along the overlap, so that together they match the size of the front-- 22". Ensure that the opening of the back is horizontal to the front.

5) With right sides together, sew the front to the back piece around all four edges using a 1/2" seam. Trim the the corners to eliminate bulk when right side out.

6) Turn right side out from the opening in the back, and stuff the pillow with an insert!

Click here to watch the YouTube tutorial on how to add ruffles to your pillow!